Best of the
Best
Editors' picks and our top buying guides


Best of the
Best
Editors' picks and our top buying guides
Latest

Upgrade Your Home Theater With This Discounted Samsung S95C OLED TV
2 minutes ago
Best Credit Cards for EV Charging for April 2024
5 minutes ago
Meta's Ray-Bans Now Have Improved AI in Public Beta
29 minutes agoLast Few Days to Snag the Best Deals in Home Depot's Spring Black Friday Sale
47 minutes ago
Reselling Tickets for Taylor Swift's Tour and Other Popular Events Can Mean Big Money. The IRS Is Aware
1 hour ago
Act Now to Score Savings on Regal Premiere Movie eTickets
1 hour ago
How to Stream 'Anyone But You' With Sydney Sweeney and Glen Powell
1 hour ago
Apple Event on May 7: iPads Likely
1 hour ago
Keep Bugs Out of Your Kitchen With These Common Houseplants
1 hour ago
This New BNPL Credit Card Offers 10% Back on In-App Purchases. What’s the Catch?
1 hour ago
Adobe Firefly Update Promises AI-Generated Images Without Any Weirdness
1 hour ago
Eye Health 101: Things You Should Be Doing Every Day to Take Care of Your Vision
2 hours ago
Bear Natural Mattress Review 2024: The Latest Newcomer to the Bear Lineup
2 hours ago
Best Mattress for Side Sleepers in 2024
2 hours ago
The 21 Best Mother's Day Gifts for Expectant Mamas
2 hours agoMore to Explore
Reviews, advice and more from CNET's experts.


Get the best price on everything CNET Shopping helps you get the best prices on your favorite products. Get promo codes and discounts with a single click.
Add to Chrome - it's free!
Our Expertise
Expertise Lindsey Turrentine is executive vice president for content and audience. She has helped shape digital media since digital media was born.
0357911176
02468104
024681024
Featured in
Tech


Upgrade your inbox
Get CNET Insider
From talking fridges to iPhones, our experts are here to help make the world a little less complicated.
Featured in
Money


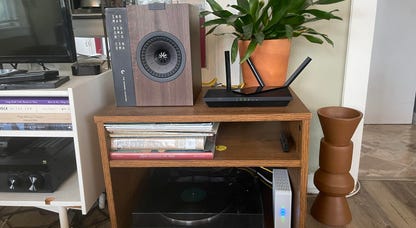
Crossing the Broadband Divide
Millions of Americans lack access to high-speed internet. Here's how to fix that.


Featured in
Energy and Utilities


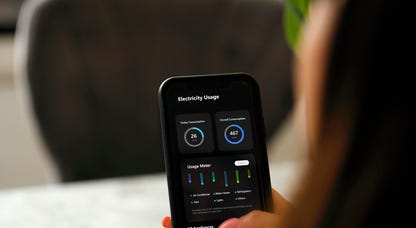
Deep Dives
Immerse yourself in our in-depth stories.


Get the best price on everything CNET Shopping helps you get the best prices on your favorite products. Get promo codes and discounts with a single click.
Add to Chrome - it's free!
Featured in
Internet


Sleep Through the Night
Get the best sleep of your life with our expert tips.


Get the best price on everything CNET Shopping helps you get the best prices on your favorite products. Get promo codes and discounts with a single click.
Add to Chrome - it's free!
Tech Tips
Get the most out of your phone with this expert advice.


Get the best price on everything CNET Shopping helps you get the best prices on your favorite products. Get promo codes and discounts with a single click.
Add to Chrome - it's free!

Featured in
Home


Living Off Grid
CNET's Eric Mack has lived off the grid for over three years. Here's what he learned.