Best of the
Best
Editors' picks and our top buying guides


Best of the
Best
Editors' picks and our top buying guides
Latest

Best Internet Providers in Franklin, Tennessee
10 minutes ago
The Best Online Games to Play With Friends
20 minutes ago
Meta AI Joins Instagram, Facebook, WhatsApp and Messenger: What to Know
27 minutes ago
Bot and Ernie: Everything You Need to Know About China's ChatGPT Equivalent
34 minutes ago
'The Tortured Poets Department' Drops at Midnight. What to Know About Taylor Swift's Latest Album
36 minutes ago
'Saw X' Streaming on Starz: Release Date and Time
52 minutes ago
Yes, There May Be a Link Between Weight-Loss Drugs and Sleep Apnea. Here's Why
55 minutes ago
The Best Pillows for Side Sleepers in 2024
1 hour ago
Meta AI Tool Now Driven by New, More Powerful Llama 3 Model, Meta Says
1 hour ago
Best AirPods Pro 2 Deals: Save Up to $60 Off Apple's Best Wireless Earbuds
1 hour ago
Another Tough Week for Mortgage Rates: Today's Mortgage Rates on April 18, 2024
1 hour ago
National vs. Local: How to Choose the Better Solar Option
1 hour ago
Allswell Mattress Review 2024: Tested by CNET's Sleep Expert
1 hour ago
Free COVID Home Test Kits Are Still Available: Here's How to Get Them
2 hours ago
New Jersey Solar Panel Incentives: Net Metering, Tax Breaks and More
2 hours agoMore to Explore
Reviews, advice and more from CNET's experts.


Get the best price on everything CNET Shopping helps you get the best prices on your favorite products. Get promo codes and discounts with a single click.
Add to Chrome - it's free!
Our Expertise
Expertise Lindsey Turrentine is executive vice president for content and audience. She has helped shape digital media since digital media was born.
0357911176
02468104
024681024
Featured in
Tech


Upgrade your inbox
Get CNET Insider
From talking fridges to iPhones, our experts are here to help make the world a little less complicated.
Featured in
Money


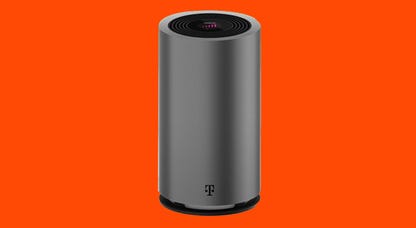
Crossing the Broadband Divide
Millions of Americans lack access to high-speed internet. Here's how to fix that.


Featured in
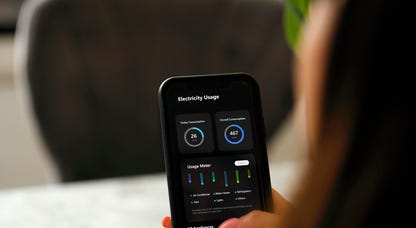
Energy and Utilities


Deep Dives
Immerse yourself in our in-depth stories.


Get the best price on everything CNET Shopping helps you get the best prices on your favorite products. Get promo codes and discounts with a single click.
Add to Chrome - it's free!
Featured in
Internet


Sleep Through the Night
Get the best sleep of your life with our expert tips.


Get the best price on everything CNET Shopping helps you get the best prices on your favorite products. Get promo codes and discounts with a single click.
Add to Chrome - it's free!
Tech Tips
Get the most out of your phone with this expert advice.


Get the best price on everything CNET Shopping helps you get the best prices on your favorite products. Get promo codes and discounts with a single click.
Add to Chrome - it's free!

Featured in
Home


Living Off Grid
CNET's Eric Mack has lived off the grid for over three years. Here's what he learned.