Best of the
Best
Editors' picks and our top buying guides


Best of the
Best
Editors' picks and our top buying guides
Latest

Best Flower Delivery Deals: Mother's Day Flowers That Can Still Arrive On Time
6 minutes ago
Best Laptop of 2024
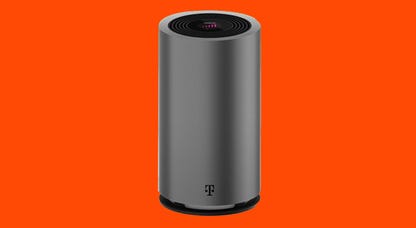
23 minutes agoArmstrong Internet Review: Plans, Pricing and Availability
23 minutes ago
Best Hotel Mattresses in 2024
23 minutes ago
Watch Europa Conference League Semifinal: Livestream Olympiakos vs. Aston Villa From Anywhere
23 minutes ago
Best Deals on Portable Jump-Starters: Jump into Savings on Brands, Like Energizer, Avapow and More
24 minutes ago
Ditch the Melatonin and Try These 7 All-Natural Sleep Aid Alternatives Instead
53 minutes ago
Watch Europa League Semifinal: Livestream Bayer Leverkusen vs. Roma From Anywhere
53 minutes ago
Best Xbox Game Pass Deals: Save Over $70 on Annual Subscription
1 hour ago
Watch Europa League Semifinal: Livestream Atalanta vs. Marseille From Anywhere
1 hour ago
75% of Knowledge Workers Use AI on the Job, but Executives Are Dragging Their Feet
1 hour ago
Best Internet Providers in Illinois
1 hour ago
Best Firm Mattress of 2024
1 hour ago
Bag This Ring Video Doorbell at the Best Price We've Ever Seen While You Still Can
1 hour ago
Fastest VPN of 2024
2 hours agoMore to Explore
Reviews, advice and more from CNET's experts.


Get the best price on everything CNET Shopping helps you get the best prices on your favorite products. Get promo codes and discounts with a single click.
Add to Chrome - it's free!
Our Expertise
Expertise Lindsey Turrentine is executive vice president for content and audience. She has helped shape digital media since digital media was born.
0357911176
02468104
024681025
Tech


Upgrade your inbox
Get CNET Insider
From talking fridges to iPhones, our experts are here to help make the world a little less complicated.
Money


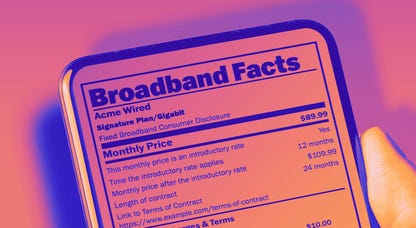
Crossing the Broadband Divide
Millions of Americans lack access to high-speed internet. Here's how to fix that.


Energy and Utilities


Deep Dives
Immerse yourself in our in-depth stories.


Get the best price on everything CNET Shopping helps you get the best prices on your favorite products. Get promo codes and discounts with a single click.
Add to Chrome - it's free!
Internet


Sleep Through the Night
Get the best sleep of your life with our expert tips.


Get the best price on everything CNET Shopping helps you get the best prices on your favorite products. Get promo codes and discounts with a single click.
Add to Chrome - it's free!
Tech Tips
Get the most out of your phone with this expert advice.


Get the best price on everything CNET Shopping helps you get the best prices on your favorite products. Get promo codes and discounts with a single click.
Add to Chrome - it's free!

Home


Living Off Grid
CNET's Eric Mack has lived off the grid for over three years. Here's what he learned.