Best of the
Best
Editors' picks and our top buying guides


Best of the
Best
Editors' picks and our top buying guides
Latest

Score Over $100 Off This Echelon Smart Exercise Bike at Amazon
7 minutes agoFlagstar Bank: 2024 Home Equity Review
8 minutes ago
Our Favorite HD Streaming Device Is Back Down to Just $20
15 minutes ago
DuckDuckGo VPN: A User-Friendly Privacy Boost, but Not for Power Users
1 hour ago
Apple Ramps Up Work to Help the Environment. But Here's the Change I Want to See as a Customer
1 hour ago
Are Electric Vehicles Actually Good for the Climate?
1 hour ago
The Missing Piece to Apple's Eco-Friendly Mission
08:45 • 1 hour agoUse These Spotify Settings to Make Your Favorite Songs Sound Even Better
2 hours ago
Amazon AirPods Pro 2 Deal Knocks $60 Off With New Models on the Horizon
2 hours ago
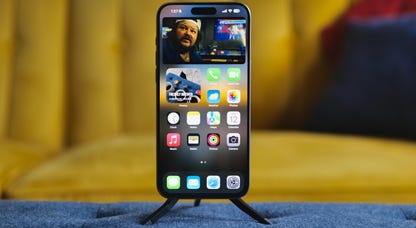
My iPhone 15 Pro Max After 7 Months: Too Many Drops to Count, but Still Great
2 hours ago
Refi Rates Increase for Homeowners: Mortgage Refinance Rates on April 19, 2024
2 hours ago
Mortgage Rates Inch Up Since Last Week: Mortgage Interest Rates for April 19, 2024
3 hours ago
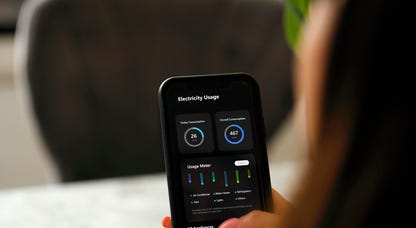
Don't Own a House? Why Solar Power Isn't Out of Reach for Gen Z
3 hours ago
48 Best Mother's Day Gifts for Most Every Kind of Mom in 2024
3 hours ago
What You Should Know About Apple's Journal App
3 hours agoMore to Explore
Reviews, advice and more from CNET's experts.


Get the best price on everything CNET Shopping helps you get the best prices on your favorite products. Get promo codes and discounts with a single click.
Add to Chrome - it's free!
Our Expertise
Expertise Lindsey Turrentine is executive vice president for content and audience. She has helped shape digital media since digital media was born.
0357911176
02468104
024681024
Featured in
Tech


Upgrade your inbox
Get CNET Insider
From talking fridges to iPhones, our experts are here to help make the world a little less complicated.
Featured in
Money


Crossing the Broadband Divide
Millions of Americans lack access to high-speed internet. Here's how to fix that.


Featured in
Energy and Utilities


Deep Dives
Immerse yourself in our in-depth stories.


Get the best price on everything CNET Shopping helps you get the best prices on your favorite products. Get promo codes and discounts with a single click.
Add to Chrome - it's free!
Featured in
Internet


Sleep Through the Night
Get the best sleep of your life with our expert tips.


Get the best price on everything CNET Shopping helps you get the best prices on your favorite products. Get promo codes and discounts with a single click.
Add to Chrome - it's free!
Tech Tips
Get the most out of your phone with this expert advice.


Get the best price on everything CNET Shopping helps you get the best prices on your favorite products. Get promo codes and discounts with a single click.
Add to Chrome - it's free!

Featured in
Home


Living Off Grid
CNET's Eric Mack has lived off the grid for over three years. Here's what he learned.